

Our good friend Carissa, the creative genius behind Design by Aikonik must have been asked a million times for her tips on how to construct the perfect flat lay. So we thought we'd sit down and interrogate her on your behalf.
Firstly, it came with a disclaimer.... there is no simple answer, really is about practicing, creating your own style, but ultimately every flat lay is determined by what you choose to place within it. So here are all the things Carissa tends to think about when creating a concept to flat lay or elements that determine the overall appearance of the finished outcome.
PS - Don't forget to check out Carissa's collection of phone cases created from her new art print series. We think you'll likey.
1. Choose a theme or hero piece
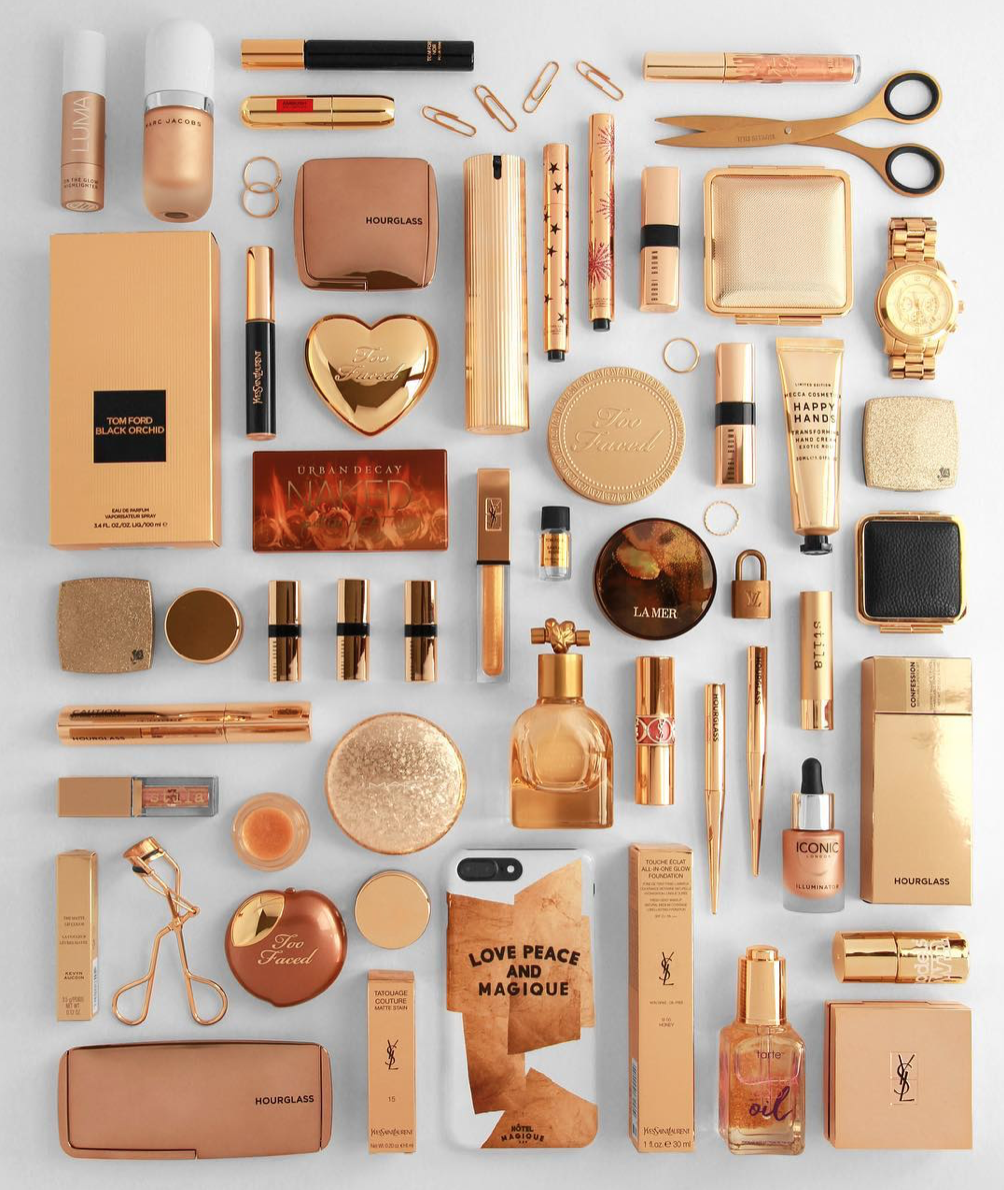
Every flat lay starts with choosing a particular theme or selecting a key hero piece – this is usually a great starting point. Whether you start which one product and surround it by items that compliment it or even specifically by colour, the options are endless. If the theme is what you want to focus on, select items that relate to one another, draw viewer around the frame so that a scene or story is created. Remember your hero piece doesn’t necessarily have to be in the centre, if it’s the largest item then it will always be the most dominant, or make an item stand out by it being a contrasting colour.

2. The Composition
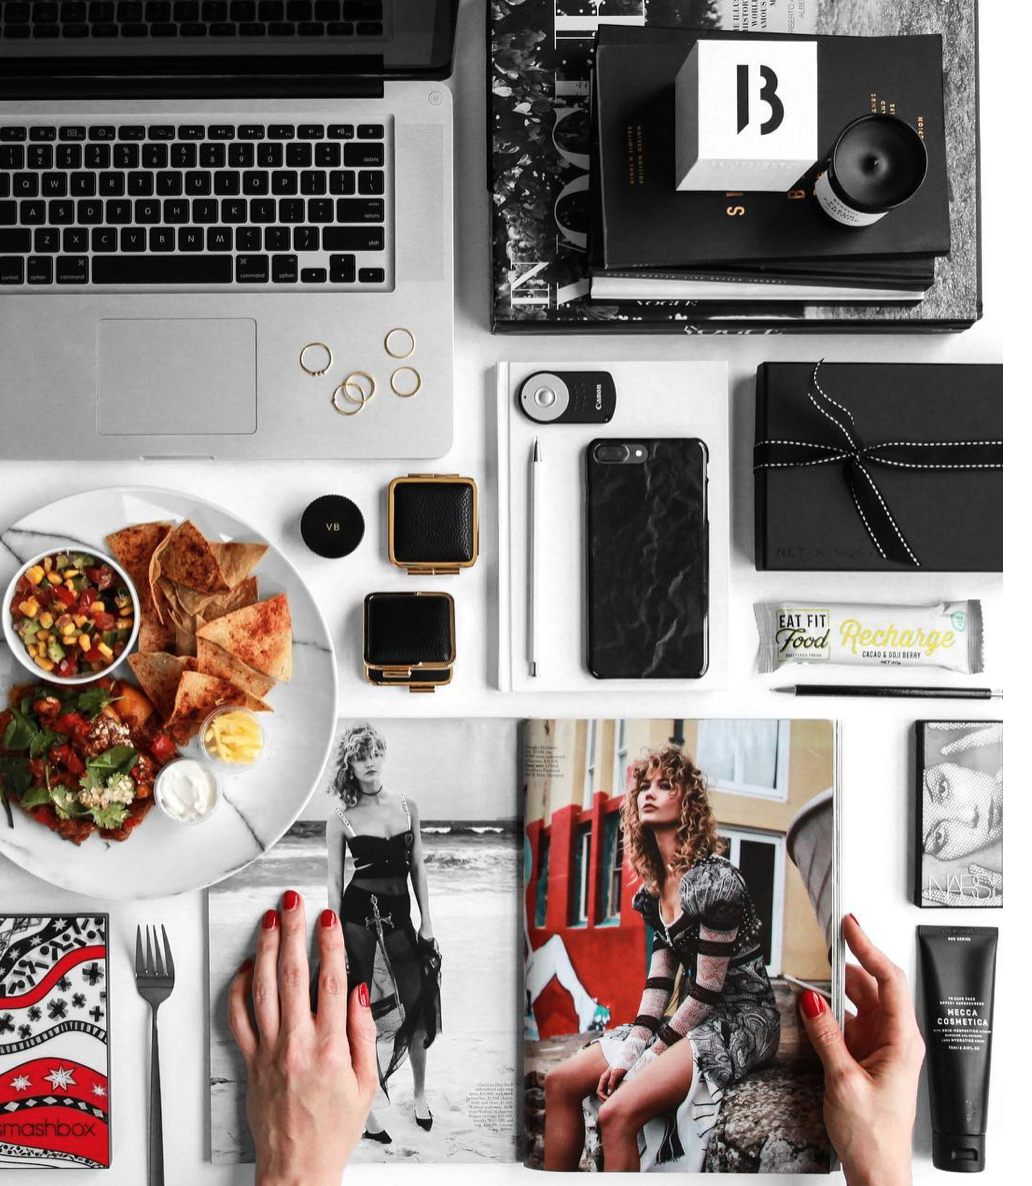
There are so many options when it comes to the type of flat lay you want to create, whether it be, organised chaos, simplistic and very minimal or lots of detail. Maybe you want to fill the entire space or even leave lots of white space – the options are endless. The first step is to lay your larger items or hero piece and then surround them with other medium sized items until you are left with small areas to fill. Working from biggest to smallest is always the easiest way to determine how may items you will need to fill your space. Remember there are also ways of displaying items by layering and building objects within your flat lay to create interest, like a bag spill, or lining intricate items around another object to fill spaces.
3. Colour
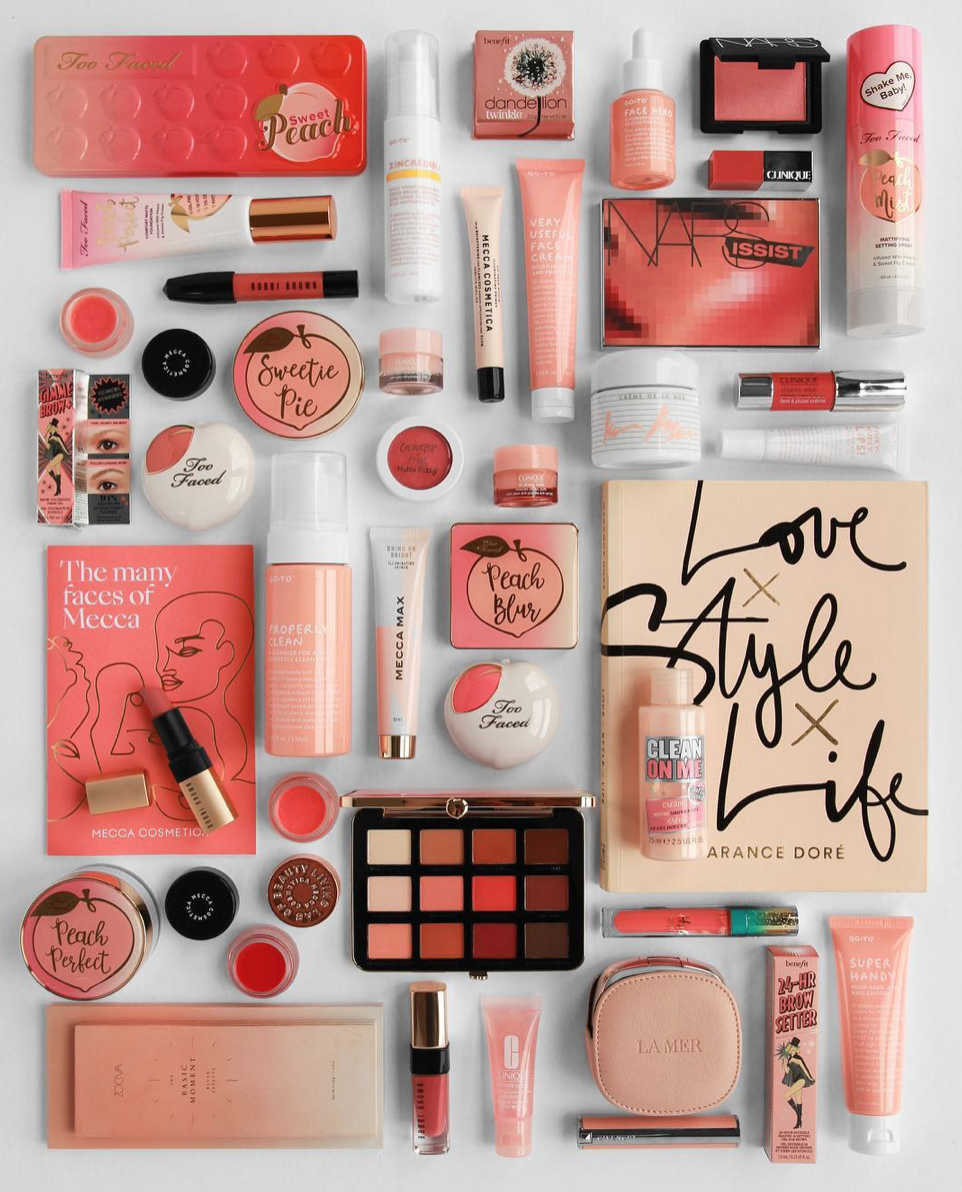
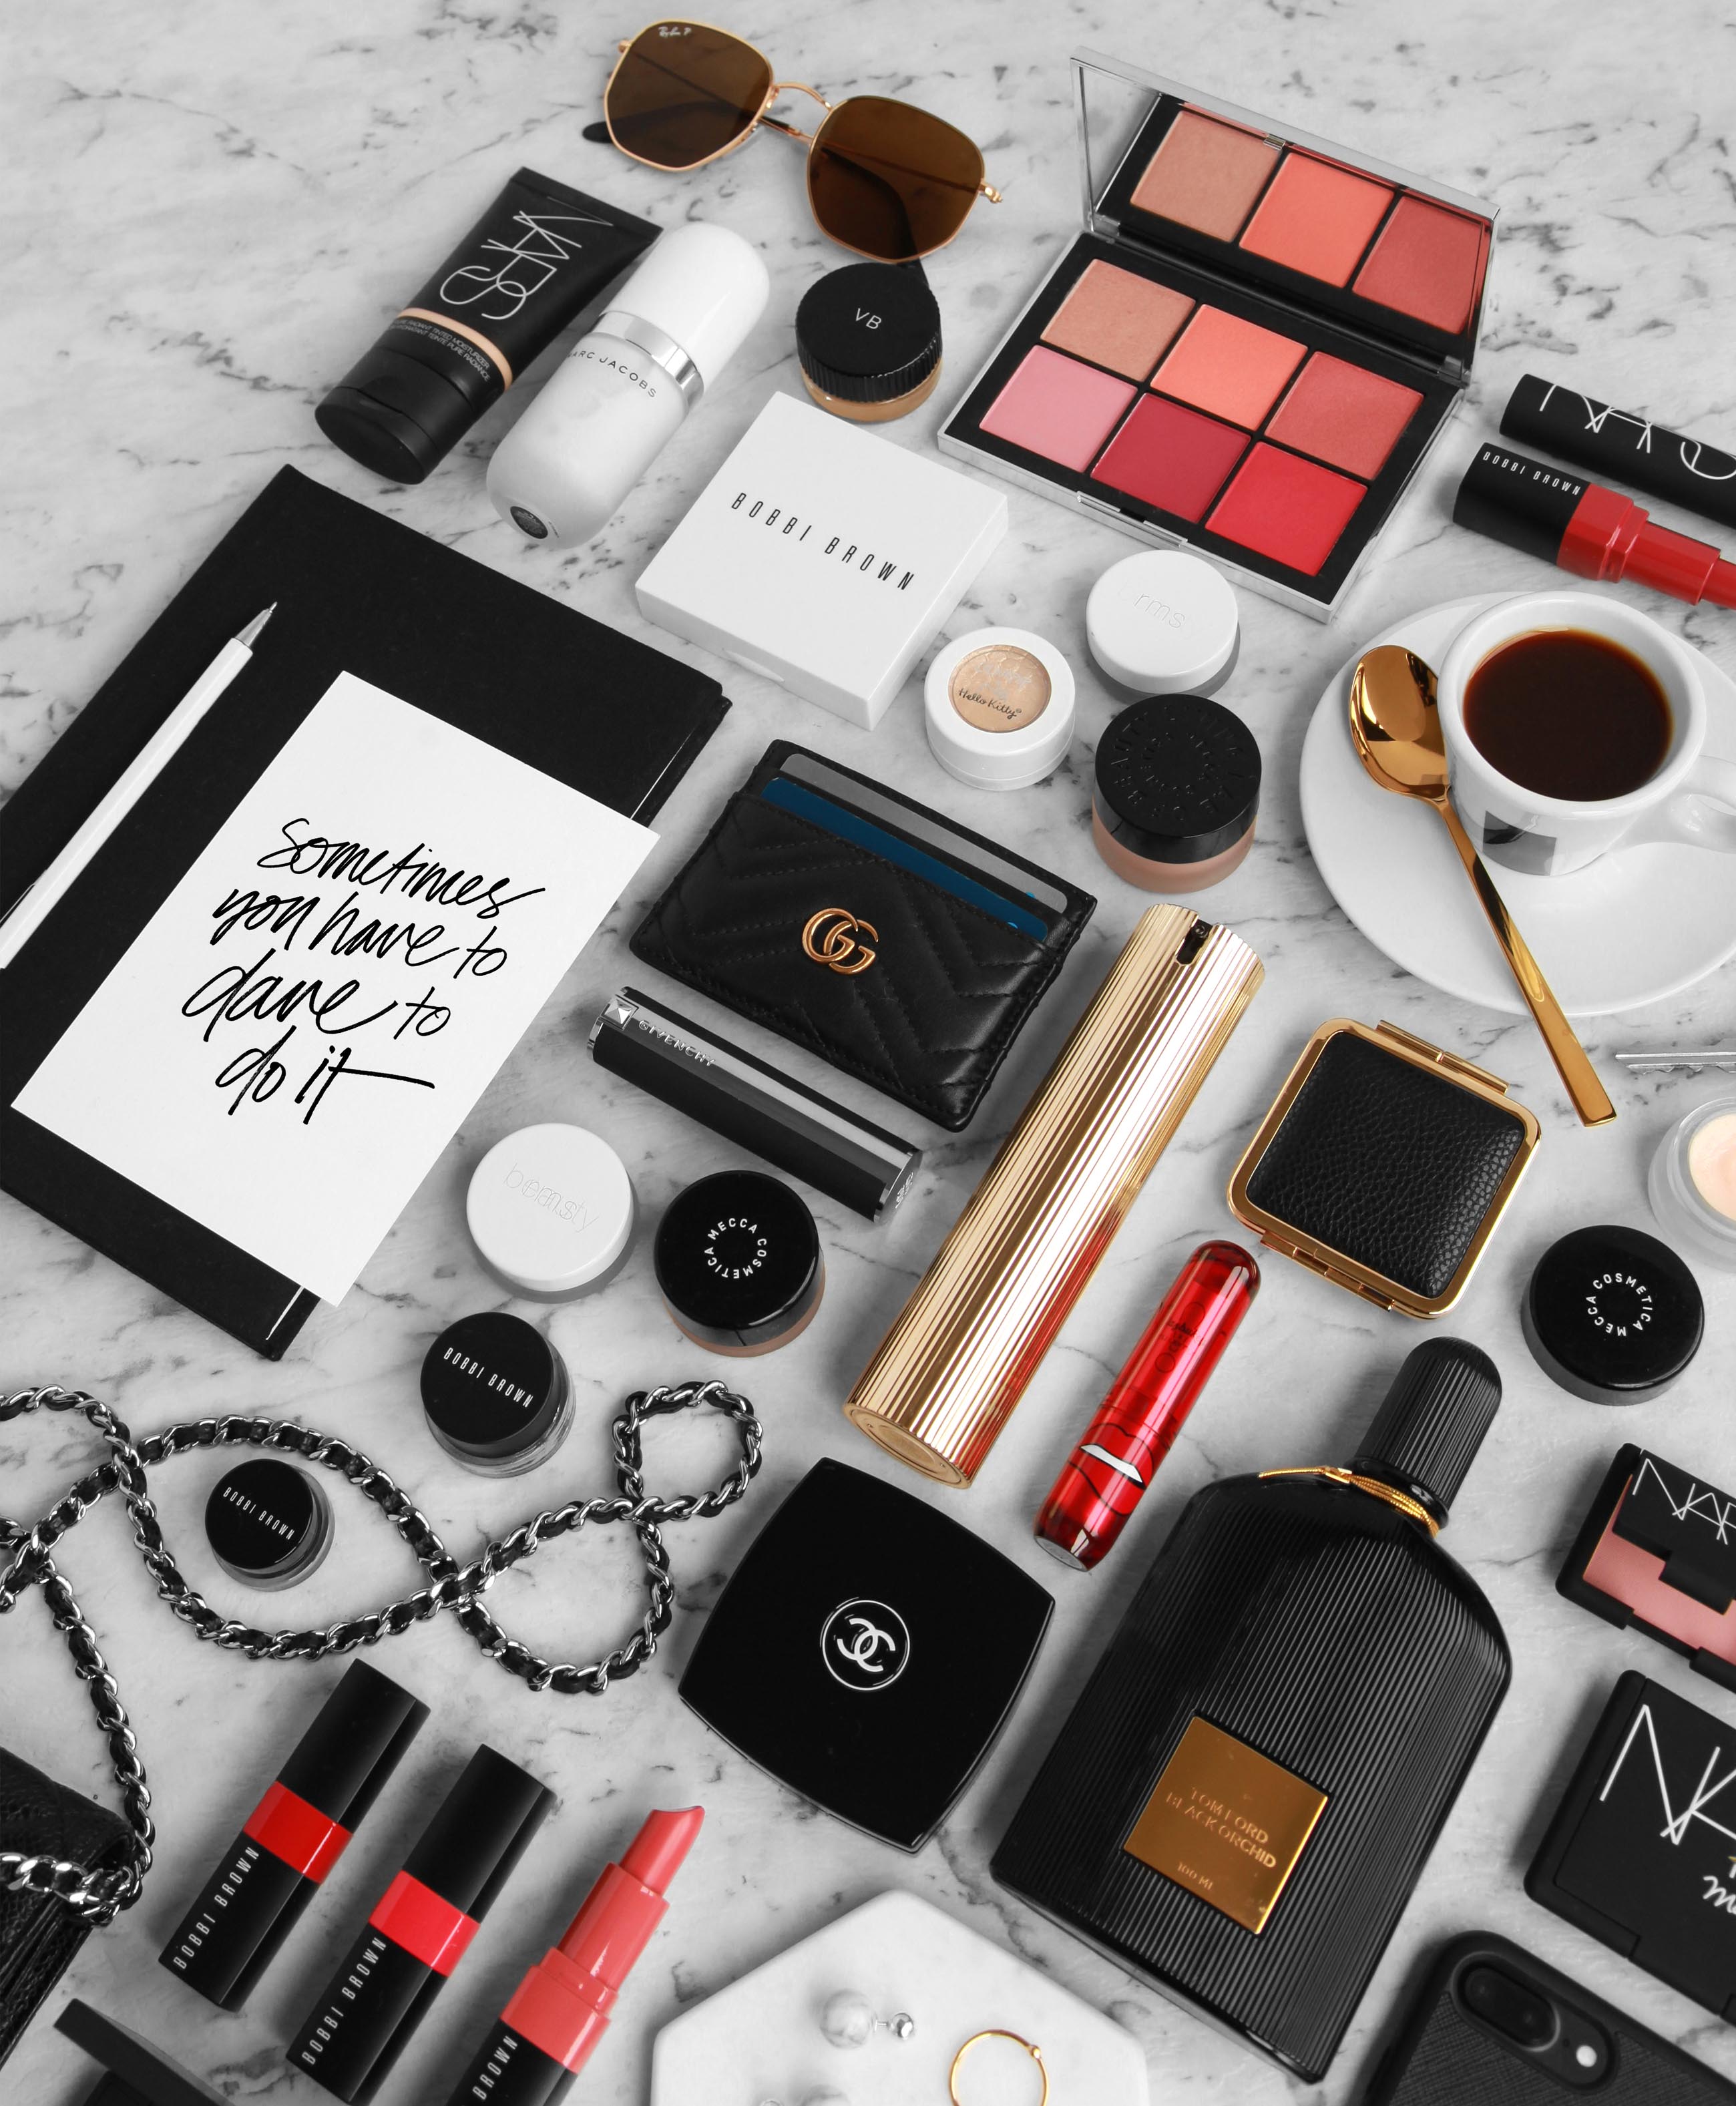
One of the main elements that I think engages someone is based on colour. You can base your entire flat lay on one monochromatic colour scheme or highlighting an item by surrounding it in black/white items. I think people engage in an image when there is a colour theme involved or they subconsciously notice that you have matched items together based on colour which appears aesthetically pleasing to the eye.

3. Framing
A lot of the time I still use my iPhone to frame a shot, depending if you want it to be in typical ‘square mode’ or if you are like me and prefer to use all the space Instagram gives you and create a more portrait style (rectangle) image. Pre shooting on your phone really gives you an idea of what it will look like cropped or framed if you are using a digital camera. Majority of the time I stand as far over the flat lay as possible, for larger compositions I may have to use a chair, but I have also invested in an tripod arm that allows a complete birds eye view with a crisp and steady shot.
4. Backgrounds
The backgrounds on every flat lay can determine different settings and scenarios rather than being limited to just a white background. Definitely play around with backgrounds whether it be textured material, coloured board, different floors, marble etc. but it should also compliment your flat lay rather than being too dominant.

5. Editing
I tend to be a fan of flat lays that look as natural as possible and should be as crisp and clear to really show off all the product you have taken so much time to place. I've seen a lot of flat lays over the years being blown out because they want the background as white as possible. Unfortunately editing can only take you so far, it will enhance the image but ultimately it’s about getting your lighting and original image as good as you can before you begin to edit. I limit to brightening the image slightly, a little saturation, bumping up the clarity and sharpness and not a lot more!
6. Lighting
Another question I frequently get asked is what lighting do I use? Plain and simple, it’s all natural. Timing is key depending on the type of effect you are going for. Mid mornings are usually better to get a soft light to avoid any type of heavy shadows. If you like the effect of shadows by all means get straight into the direct sunlight. But to minimise the harsh shadows I also use a diffuser or even a white piece of board to bounce light back into the objects to soften the shadows that may appear. If you have a boss set up and have the equipment with artificial lighting that’s a bonus and allows you to shoot day or night. Also using an SLR will give you the freedom to play with the aperture and shutter speed to allow more or less light
Design by Aikonik
Carissa is a Graphic Designer / Photographer / Content Creator based in Melbourne, Australia.
Liked our blog? Take a look at some of the other amazing artists we showcase:
- In Your Face Beauty and Glamour from Choleil
- Introducing... Lemholt N' Bergman
- In the Studio with Cass Deller
- In the Studio with Jonathan Lawes
- Escape to the Studio with Paula Mills
- Our Creative Team in Action
- Enter the Creative World of Jasmine Dowling
- In the Studio with Jasmine Dowling
- Meet the Artist – Audrey Leighton
- The World of Veronica Tucker
- Brigitte May’s Magical Menagerie
- The One and Only.... Lauren Carney
- In the Studio with Nardurna


