We all love to own things that encapsulate and reflect a little piece of who we are. While you can certainly buy items that hold this value for you, nothing beats creating something truly personalised and uniquely YOU. So what better item could there be to personalise than your phone case?
You use and interact with your phone every day. So much so that it may even feel like an extension of your being, so this is exactly where you should be starting if you want to inject some of your own interests and personality into something you own.
But while you’re probably keen on the idea of creating something that’s uniquely yours, you’re also probably wondering if you even have the creative flair to pull it off. Well, you’ll be glad to know that it’s actually incredibly easy for anyone to customise a phone case through our website here at The Dairy!
Since it’s your first time stepping into the world of custom phone cases, we figured we’d pass on a few tips and steps to follow first to help get you started.
Get Ideas and Inspiration
Before you get started, you need to know the end result you want to achieve out of your phone case. To get to that point, you need some inspiration first. There are a few ways you can go about personalising your case:
- Personal artwork, drawing or creative photography
- Personal photos of loved ones, pets or memorable moments
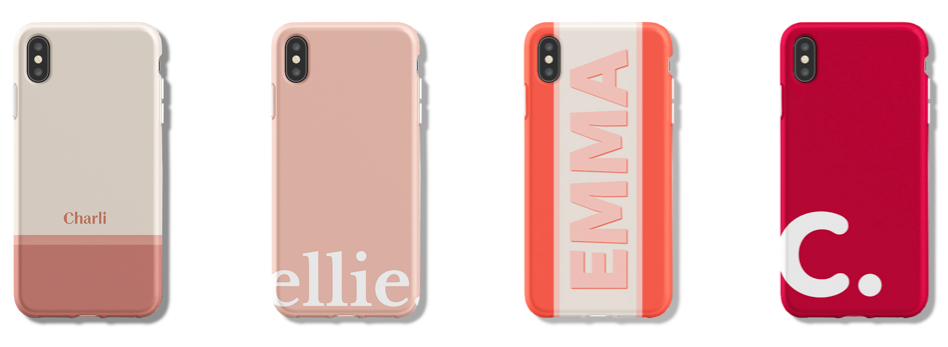
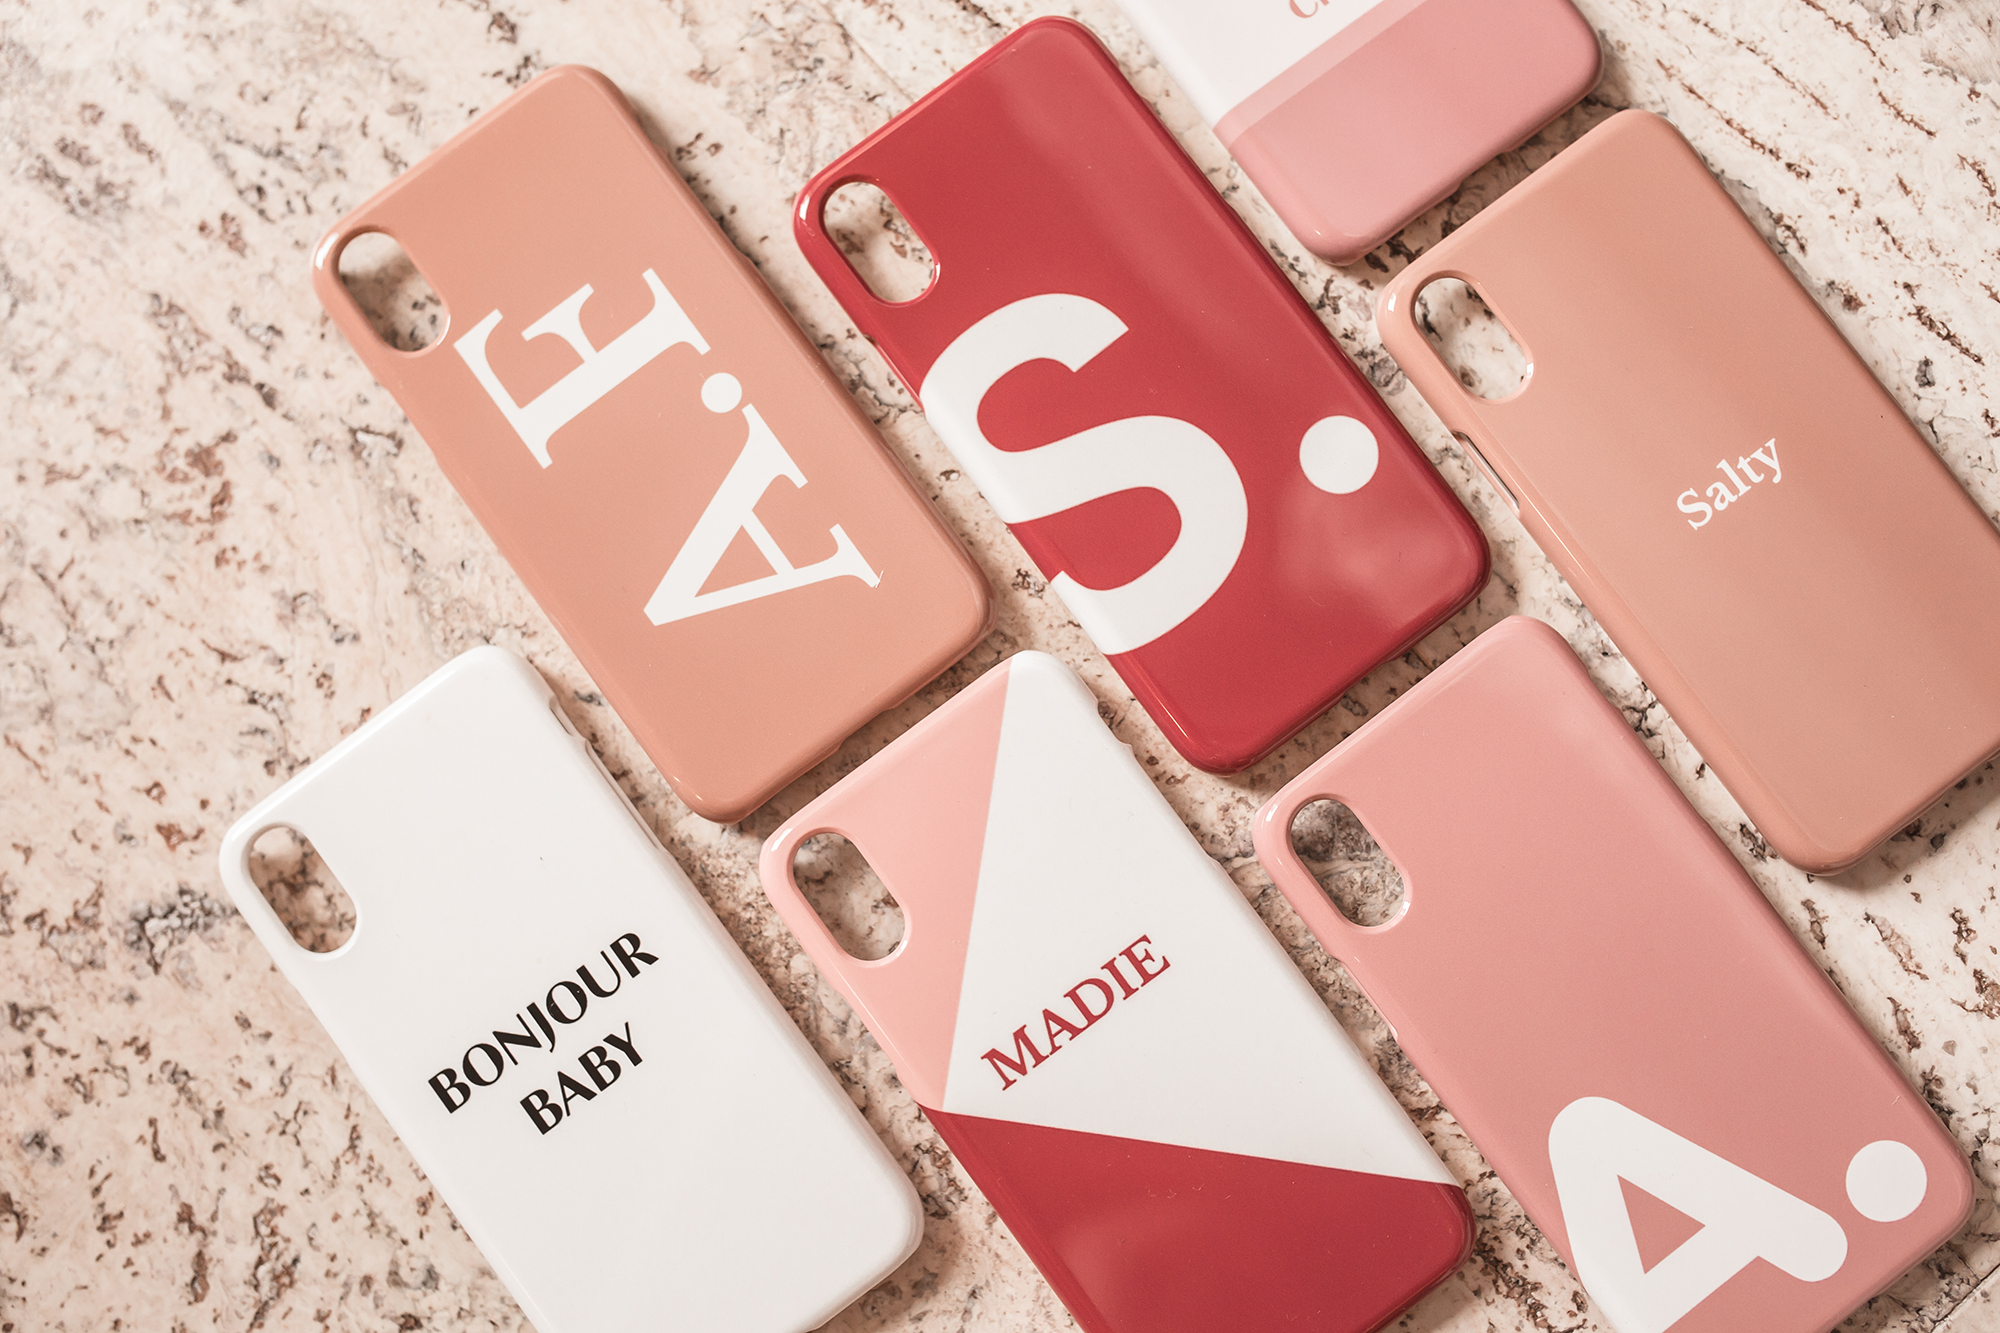
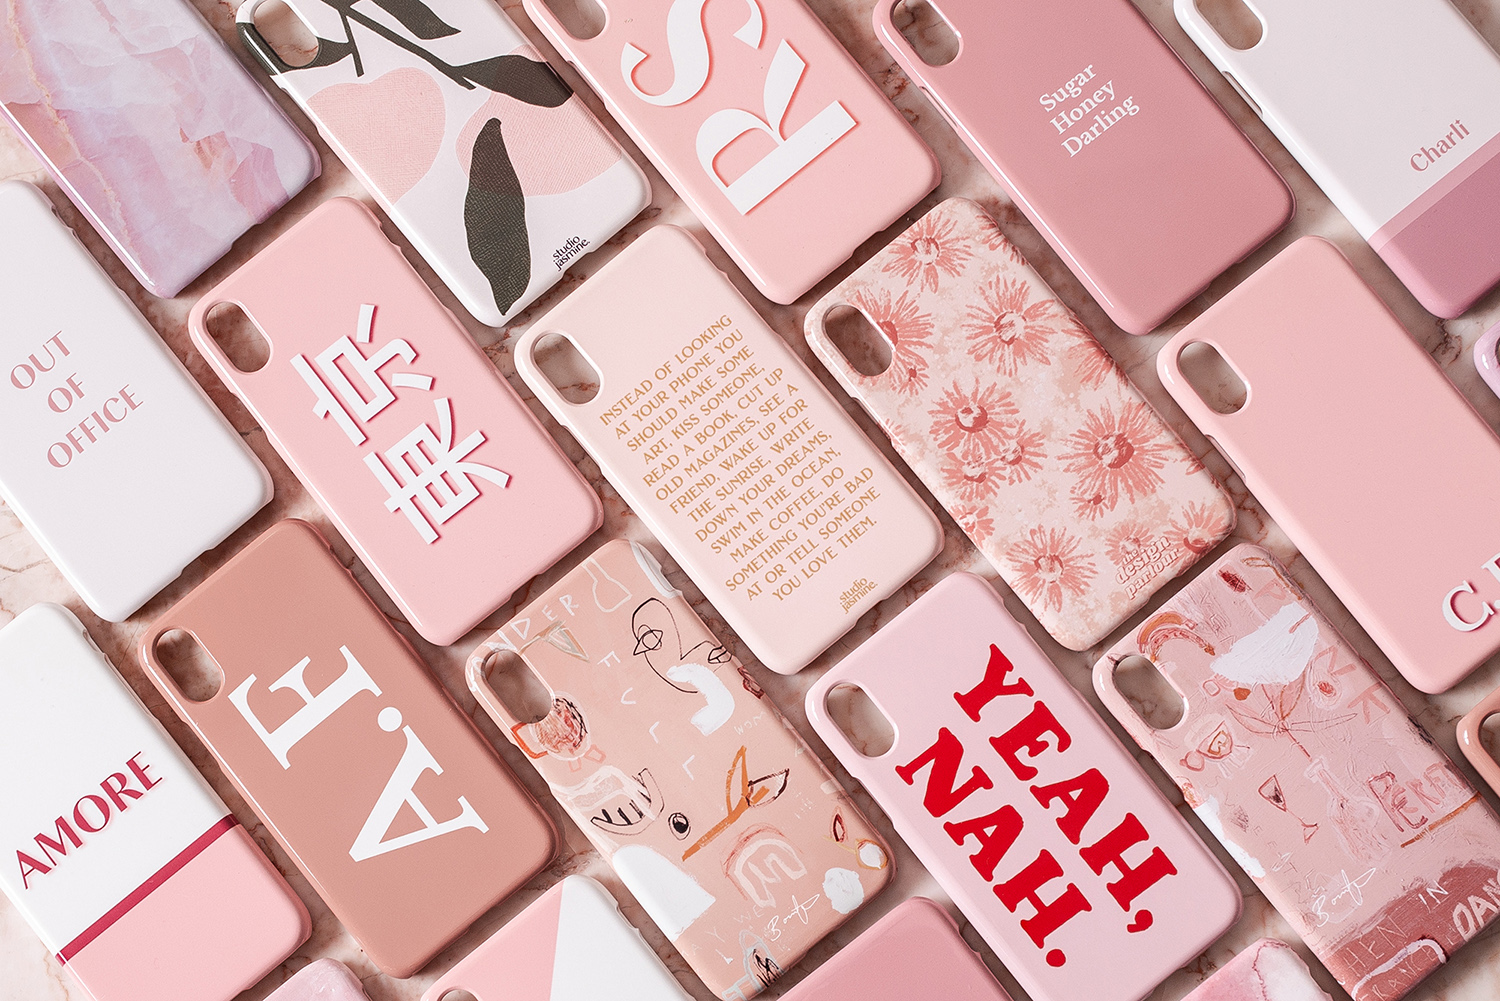
- A word or phrase that holds meaning for you
- Colours, patterns or images that reflect your personal style
- An uploaded image that reflects an interest, personality trait or fandom
Once you can narrow down your custom phone case design to 1 of these 5 themes, you’ll have a much easier time hunting down inspiration and resources to come up with your creation. If you’re still unsure, you can always look through our existing collection here at The Dairy for ideas.

Gather and Select Your Photos and Resources
Before using the ‘Create a Case’ tool, make sure you have any images for the case creation you would like to use ready to go first. We recommend having a few options to see which one looks best within the phone case dimensions.
Do keep in mind that for the best quality outcome, the image you wish to upload must be high resolution, the right dimensions and under 3MB in size. If you use a low resolution image, the end result may appear pixelated.
The ideal photo for a custom phone case should be high resolution (300dpi), at least 1000px x 1500px in size and have a file size under 3 MB.
To find the resolution of your image, right click on the photo, click on ‘properties’ and look under ‘details’ to find the DPI. The dimensions can be found under properties too.
So essentially, your photo needs to look as sharp as possible and the file cannot be too large or you may have trouble uploading it. If you’re unsure, you can always preview any image uploads for your phone case within the ‘Create your Case’ application.

Select the Right Phone Case Type
Before you can get started on the whole create a case process, you first need to choose between the slim and light weight snap case or the armoured case with a rubber bumper layer for added protection. You then need to make sure to select the correct iPhone or Samsung model number for your phone.
To find the model number of your iPhone go to Settings > General > About > Model Name
To find the model number of your Samsung select System > About Phone

Try Out Design Ideas in ‘Create a Case’
Now this is where the real magic happens. While you may have an idea in your head of how you want your phone case to look, you’ll never truly know until you see it for yourself. Within Create a Case, there are a number of applications you can make use of.
Background
Here you can choose between a range of pre-set colours, patterns or you can upload an image to use for the background. The preview of your selection will then display instantly on the left hand side.
Please be aware that when uploading an image, if it falls under the minimum 1000px x 1500px dimensions, the image will not upload. If you’re unhappy with your selection, you can reset the background at any time.
Text and Font
Once a background is selected, you have the option of including text if you wish. Simply type in your desired text and use the scale, position and orientation tools to arrange the text precisely. There are 10 stylish fonts to choose from, and you can change the colour of the text too.

Design Tips & Ideas
We want you to be overjoyed with the outcome of your first custom case creation experience, so here are a few other tips to help you out:
- When incorporating text into your design, consider a plain colour background or a minimalistic pattern to avoid the text blending too much into the design. A simplistic background will make your text pop.
- When uploading an image, remember to resize it if necessary to make sure it fits the dimensions of the case entirely. Otherwise, you may be left with a white border around the image.
- Consider choosing colours, patterns or designs that complement your overall look and style. Read our blog all about choosing a phone case that complements your style for further advice here.
- Can’t pick one picture? Consider creating a collage instead with a collection of your favourite travel snaps, loved ones or happy memories. Many mobile, desktop and online applications are available to help you create collages in any dimensions you require.
Ready to own a personalised phone case?